For just over 9 years I have been taking a photograph a day, every day. Although I am a photography teacher, these aren’t amazing award-winning images. Just something snapped from my day. There is only one rule, the photograph should be of something that makes me smile.
Where the idea started from, I’m not entirely sure. I had tried several 365 photography projects. All started enthusiastically on January 1st (despite hangovers) but like most resolutions they rarely made it to the end of January.
This was different, a slower evolution of gathering images and it started with the iPhone. I’d had a few phones that had featured a camera, but the images were pretty poor and often resembled CCTV footage in quality. There was no real way to share these images. Then I got an iPhone. The first photograph I have is from 16 September 2009 – this I think is a straight out of the box image. I was slow to use the iPhone camera at first. There are sporadic photographs through 2009 and early 2010. During the summer of 2010 I can see that I am experimenting more, apps such as Hipstamatic appealed to the film photographer in me.

By the Autumn of 2010 I am shooting most days on my phone. From February 18th, 2011, I haven’t missed a day.
At some point, early on in this journey I started using a 365 app (I use Project 365 but there are many more now). One image saved each day on to a calendar.
When I realised that I had an unbroken run, of several weeks I set a reminder alarm on my phone mid-afternoon to remind me to take an image. The habit is so ingrained in me now, that I don’t have that reminder. Although there have been times, when I’ve got into bed and thought I haven’t taken an image … and I’ve wandered back downstairs or even shot from my bed.
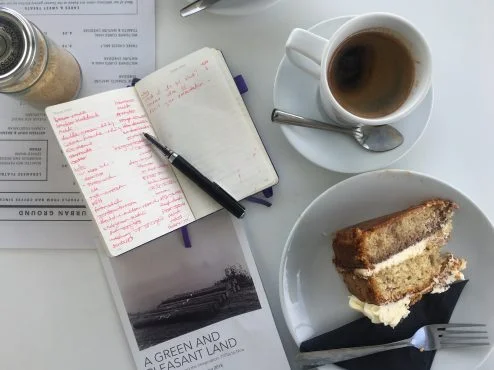
Sometimes it is a screenshot of a message or an email – as long as it makes me smile it doesn’t matter.
What function does it serve?
There have been so many benefits to this simple daily routine that had I realised it, I would have started it so much earlier in my life. I’ve been a sporadic journal keeper. As a young adult my diaries were read by someone I trusted, and I’ve never felt safe committing thoughts to paper. However, the image is different. The photograph is interpreted by me into the memory. No one else is going to make the same association from the image.
Though 2009/2010 I went through a difficult time in my professional life. Home life was complex, and it seemed that the world was against our family. As I flicked through the images, I would be reminded of the nice things that stood out. It was a simple dopamine fix. A feel-good rush could be obtained from looking back at what I had photographed.
Slowly I realised that it really did help mentally to look back at the previous week, month or year. The realisation that if I had survived those times, I could survive whatever was happening in the now.
The photographs also act as a wonderful memory prompt. If I need to remember where I was, or what I did on particular day, looking at the photograph for that day is far more useful to trigger the memory of a day than any calendar.
There is a final part of this story and it involves my friend Patrick. We had met on a course and found we had much in common. Afterwards we had stayed in touch sporadically.
We exchanged the odd text, and occasionally spoke on the phone. It was my turn to call – and I am rubbish at calling. I had left it weeks, to the point it was getting embarrassing to call back after such a long-time delay. Then one Tuesday evening in October I dialled his number. A very sleepy sounding Patrick answered the phone. ‘I call you back on WhatsApp’ he said. He was in New Zealand; his mum was terminally ill and he had flown home to be her carer. At some point we talked about photographs, and I said that I took a photograph every day. He asked me to explain.
When I finished, Patrick said could I send him the image that I had taken that day, so I did, He then replied with an image. Since Monday 21st October we have exchanged an image a day. A visual conversation. When sometimes it is hard to communicate with words, maybe the days have been too similar in lockdown. Maybe the news is too much too handle – an image exchanged can maintain contact and share the kindness in the world.

“Communication and connection isn’t always about words. It’s about a commitment and intention of being in each other’s lives and being reliably present.” P Hill, 2020.
During lockdown, I uploaded my ‘photo a day’ to Instagram stories. This video tracks the 100 or so images from this time period. Watching this video through, the seemingly unrelated images form a narrative of this time, building day by day, week by week, month by month.
Take a photo today of something that makes you smile.
This post was first published at Reasons To Be Cheerful blog